Creating a New Mailing
Navigate to Email Marketing → Mailings and click New to start a new email campaign. You are presented with a library of pre-designed templates to choose from.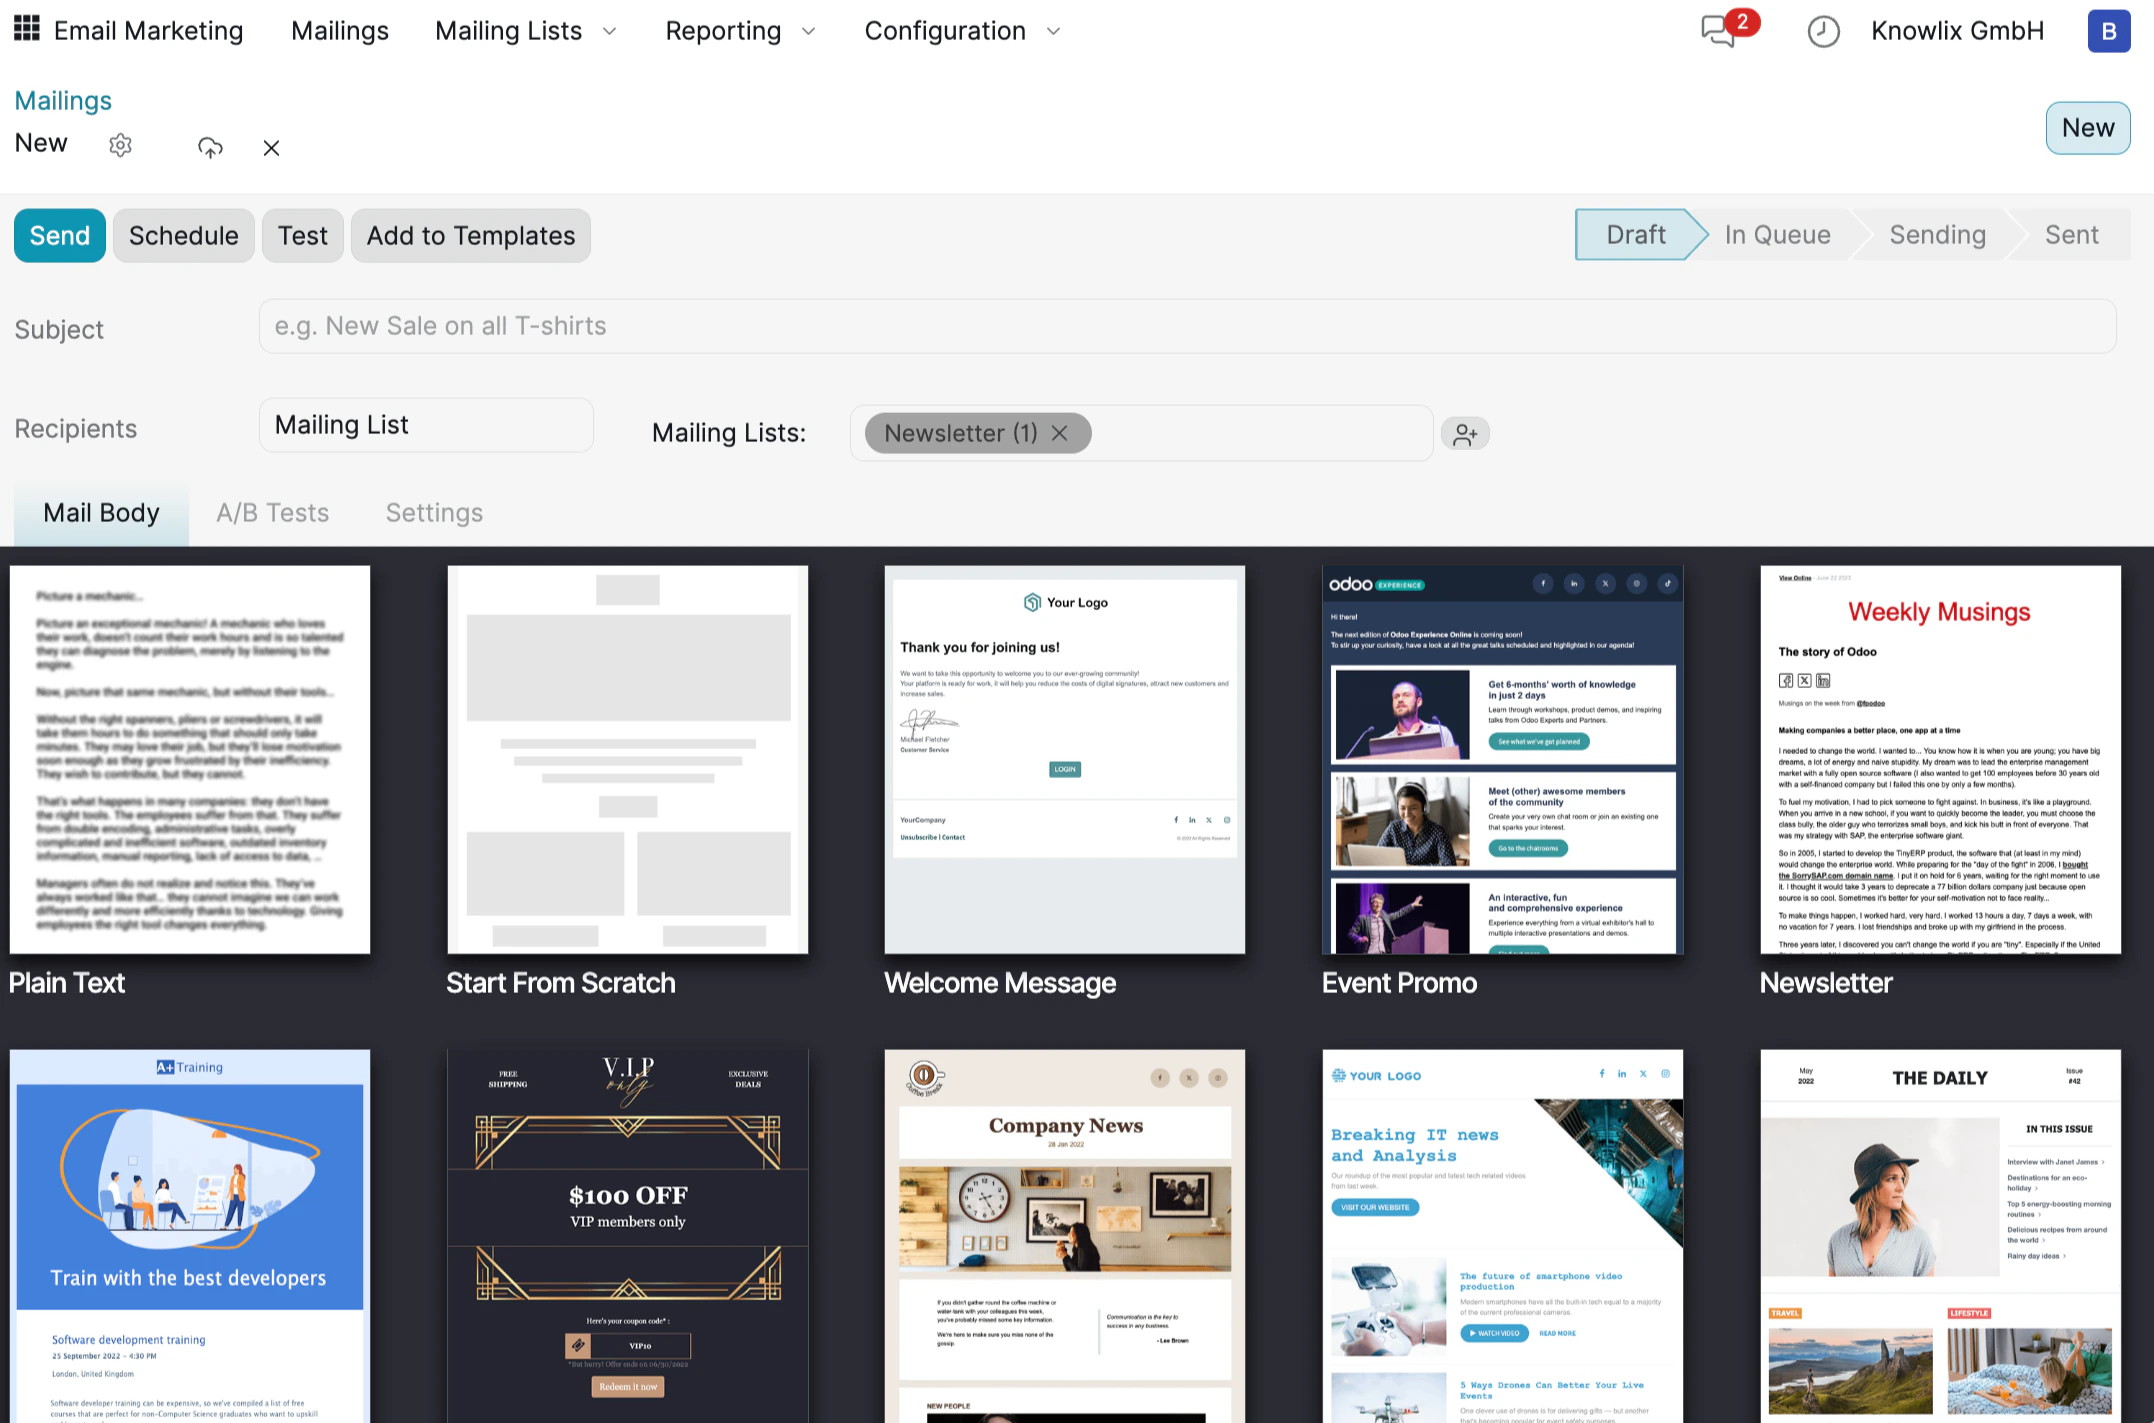
- Subject: The email subject line your recipients will see.
- Recipients: Select Mailing List and choose which list to send to (e.g., “Newsletter”).
- Tabs: Switch between Mail Body (content), A/B Tests (variants), and Settings (tracking options).
Designing Your Email
Once you select a template, the drag-and-drop editor opens with your email content on the left and the editing panel on the right.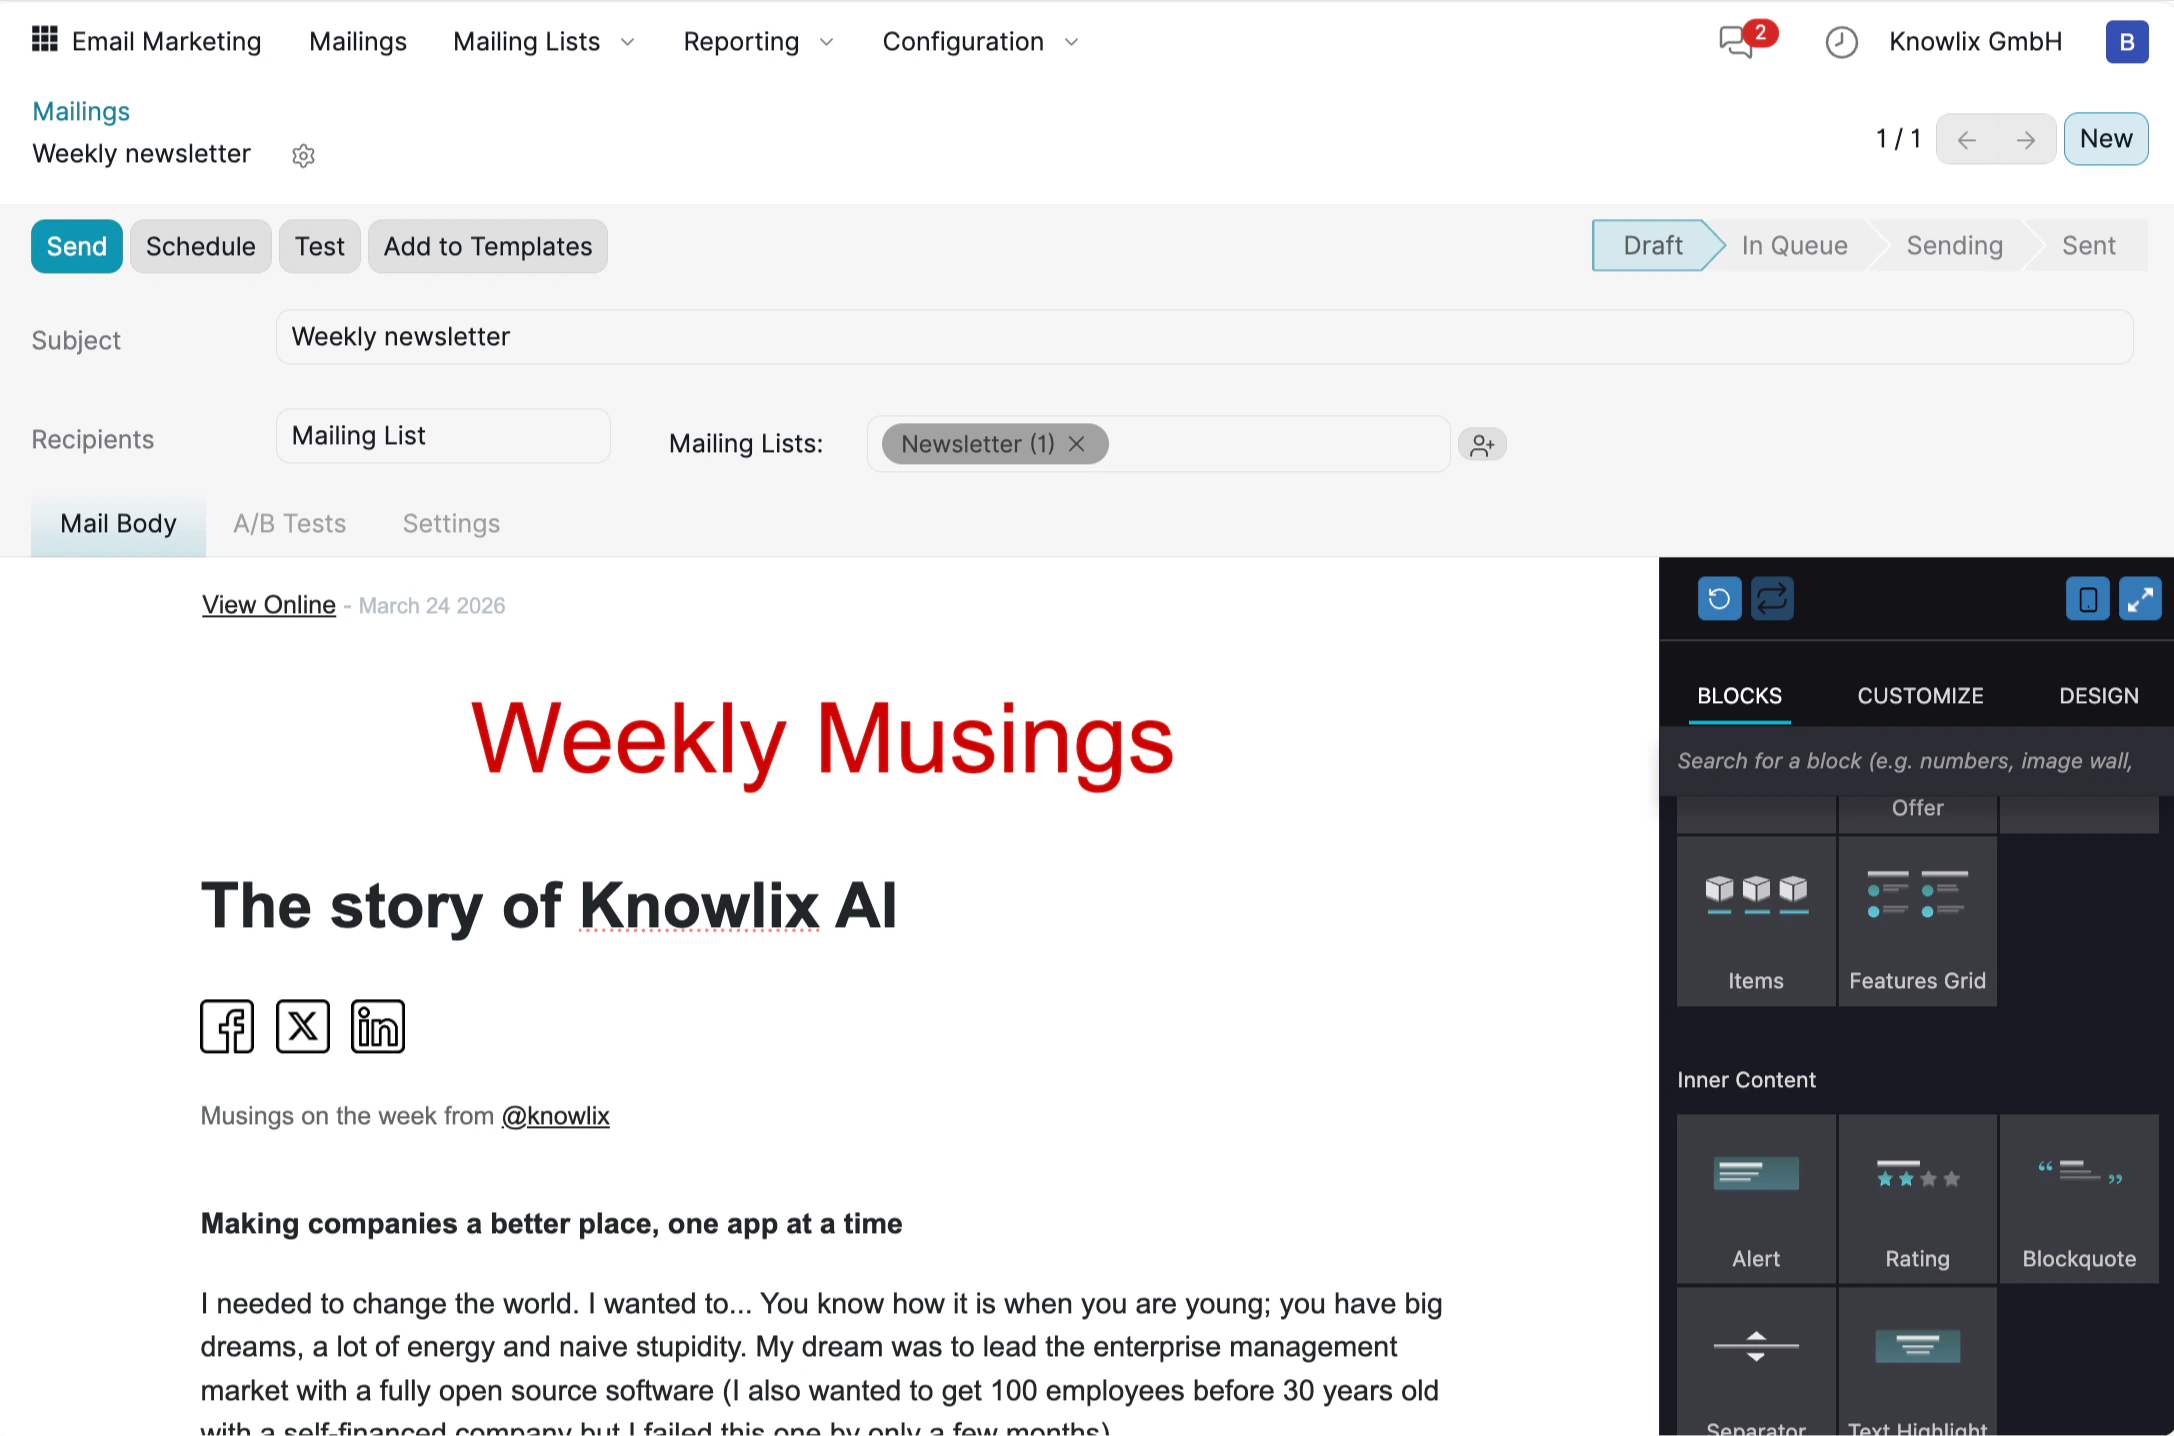
Blocks
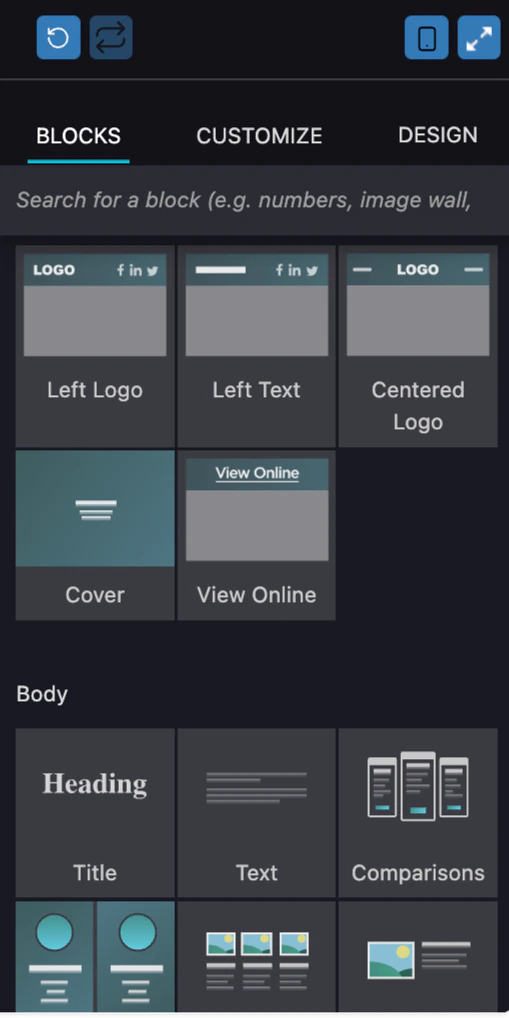
The BLOCKS tab provides drag-and-drop content elements organized into categories:
- Header: Left Logo, Left Text, Centered Logo, Cover, View Online.
- Body: Title, Text, Comparisons, and more.
- Content: Offer, Items, Features Grid, Alert, Rating, Blockquote.
Customize
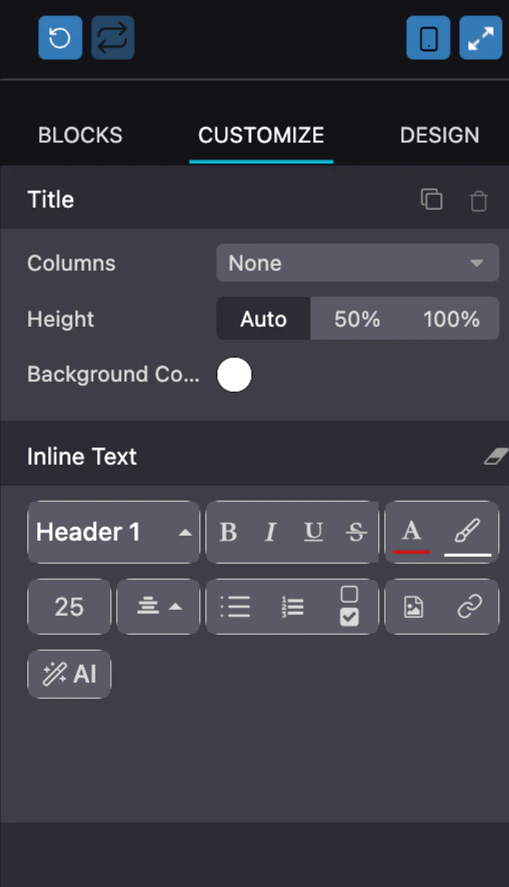
The CUSTOMIZE tab appears when you click on a specific block. It lets you edit the selected element’s properties:
- Layout: Set Columns and Height (Auto, 50%, 100%).
- Background Color: Choose a background for the block.
- Inline Text: Format text with heading levels (Header 1–3), bold, italic, underline, strikethrough, font color, alignment, lists, checkboxes, images, and links.
- AI: Click the AI button to generate or rewrite content using AI assistance.
Design
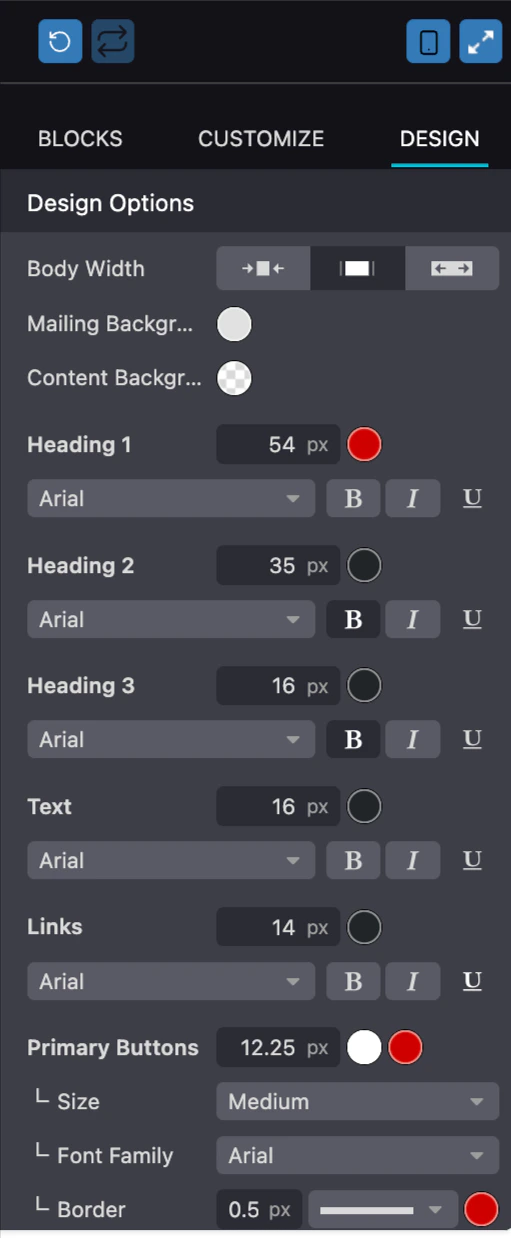
The DESIGN tab controls the global appearance of your entire email:
- Body Width: Choose between compact, medium, or full-width layouts.
- Colors: Set Mailing Background and Content Background colors.
- Typography: Configure font family, size, color, and style (Bold, Italic, Underline) for Heading 1, Heading 2, Heading 3, Text, and Links independently.
- Primary Buttons: Adjust button size, font family, and border settings.
Managing Mailing Lists

- Total Contacts: The number of subscribers in the list.
- Mailings: How many campaigns have been sent to this list.
- Bounce %: Percentage of emails that failed to deliver.
- Opt-Out %: Percentage of subscribers who unsubscribed.
- Blacklist %: Percentage of blocked addresses.
Testing Before Sending
Before sending to your full audience, you can send a test email to verify everything looks correct.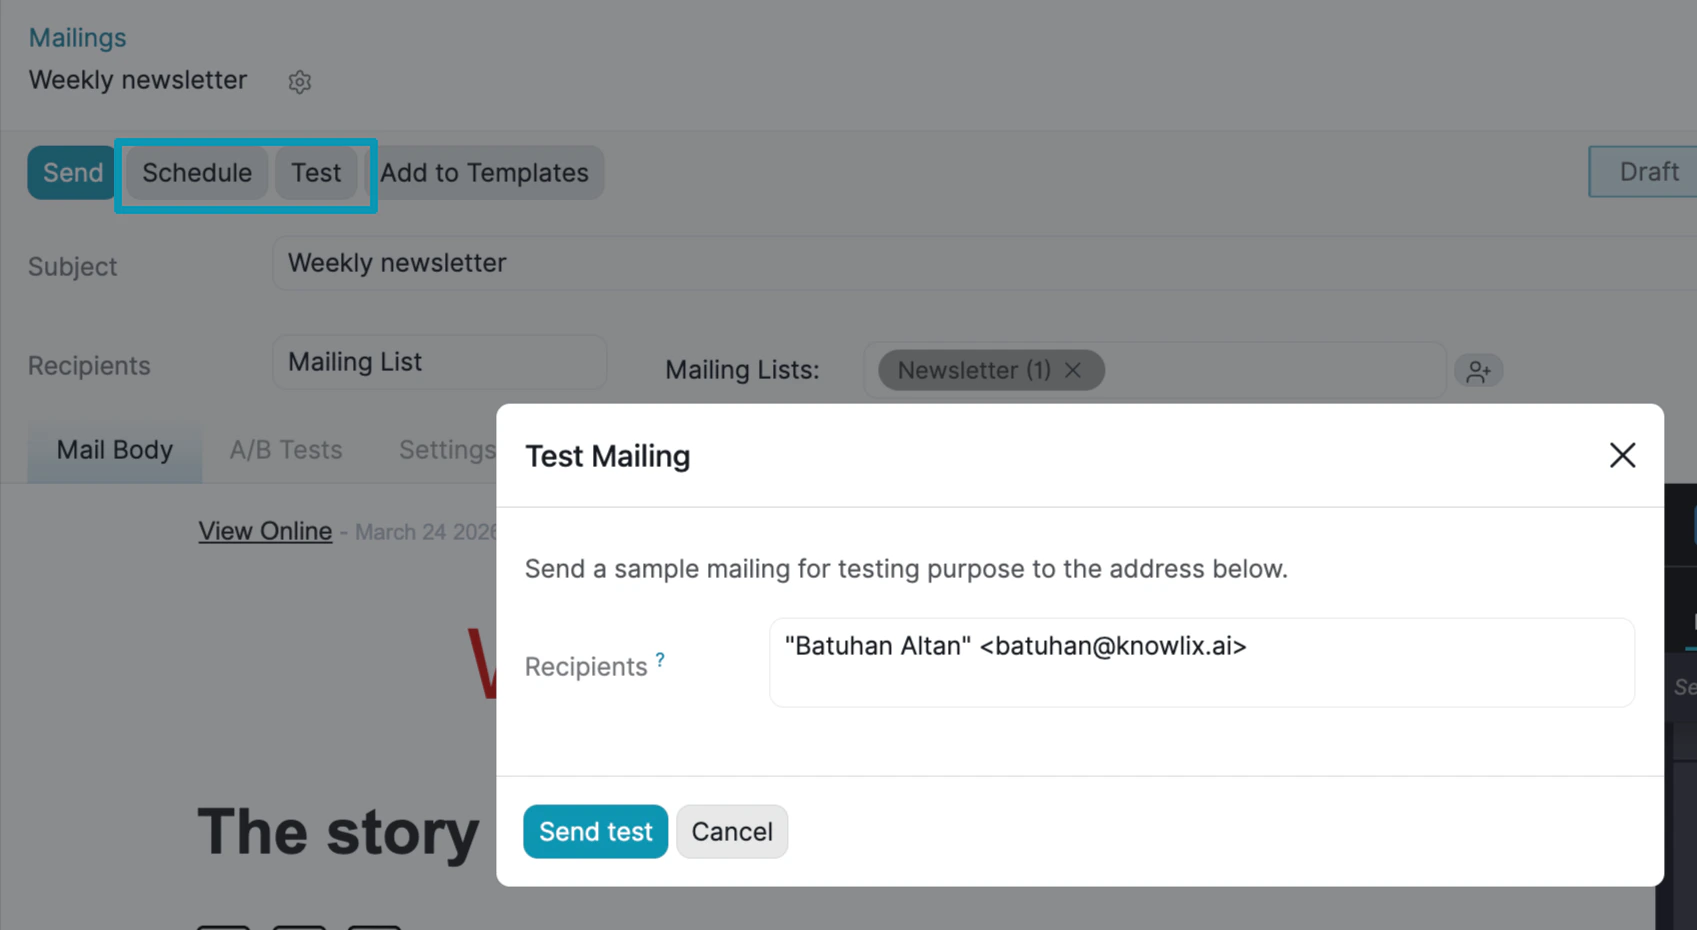
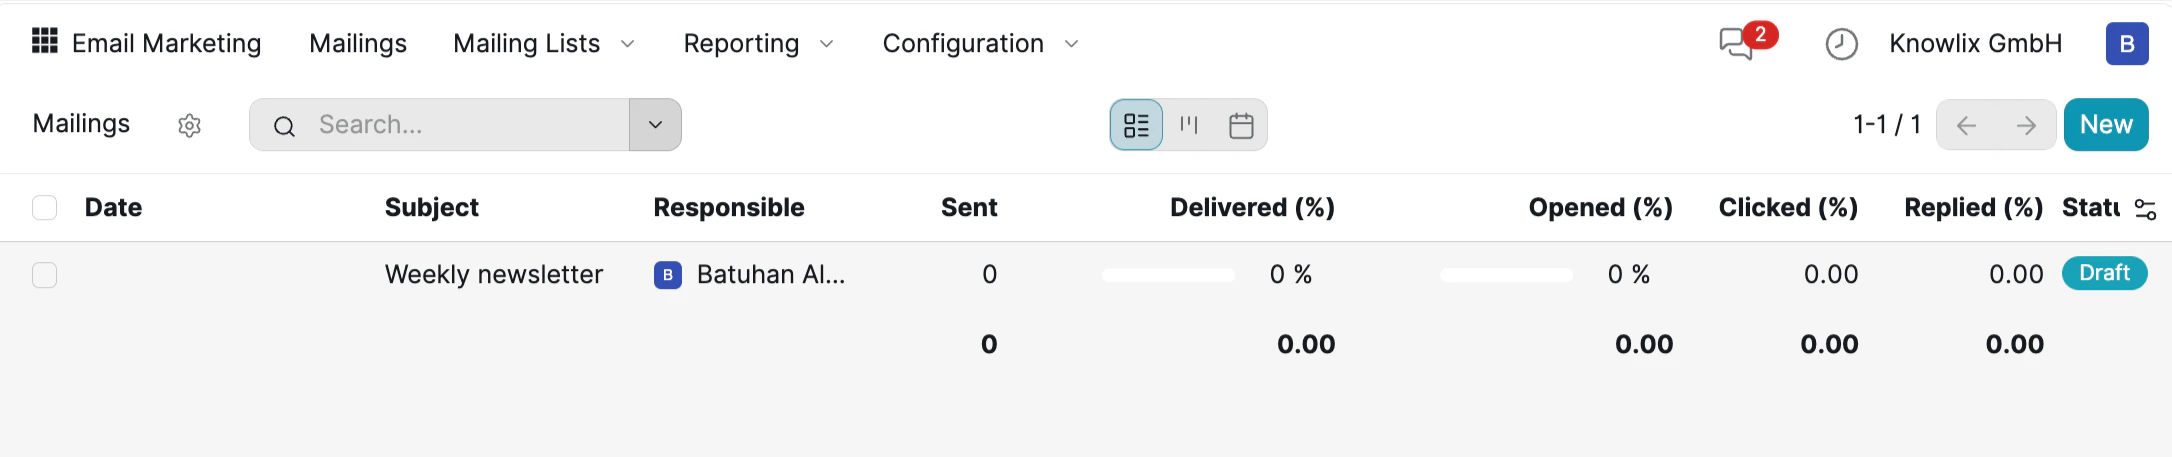
Campaign Overview
Reporting & Analytics

More Information
Sign
Electronic signatures and document approval
HTML Editor
Rich text editor for content formatting and HTML editing
Pro Tips: Productivity
AI assistant tips for the Productivity module